How to Connect Hostinger SSH With Windows in Shared Web Hosting (How to Use Hostinger SSH Terminal Using Putty Or How to Connect Hosting Server Cmd with Windows Using Putty)

Install Putty In Windows

Step 1 : Download Putty for Windows Using below link

https://www.chiark.greenend.org.uk/~sgtatham/putty/latest.html

Click on .msi link which is inside red box to download Putty for windows.
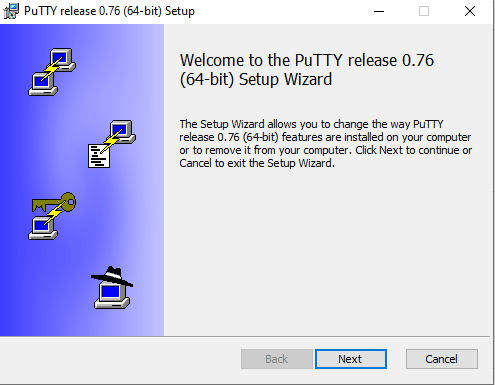
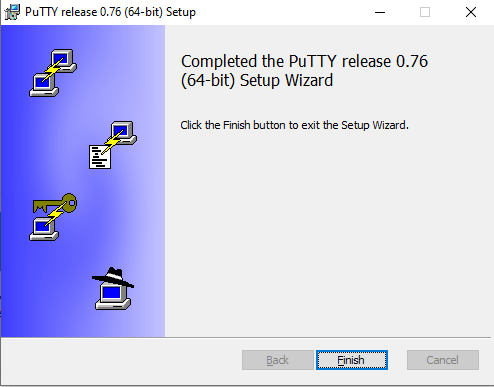
Step 2 : Install Putty in Windows
Click on Next button
Click on finish button now. Putty is installed successfully.

Connect Hostinger Secure Shell (SSH) to Putty in Windows

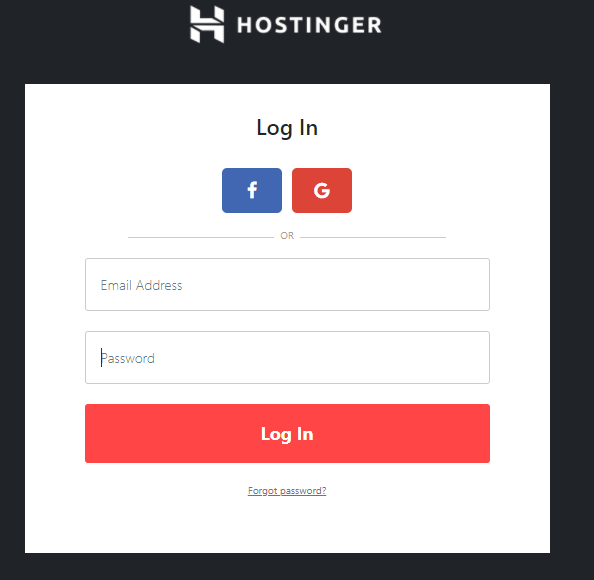
Step 1 : Login to your Hostinger Account

https://www.hostinger.in/cpanel-login

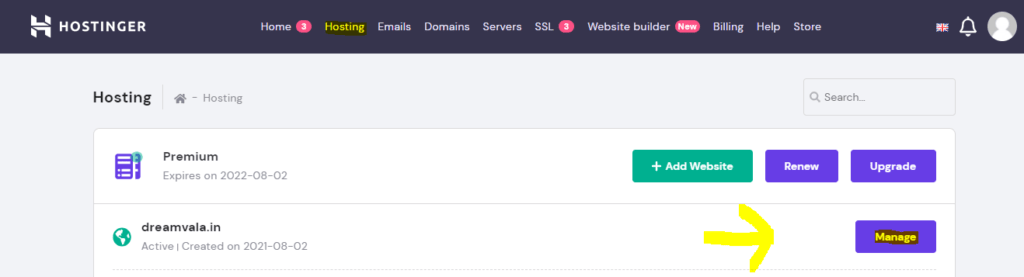
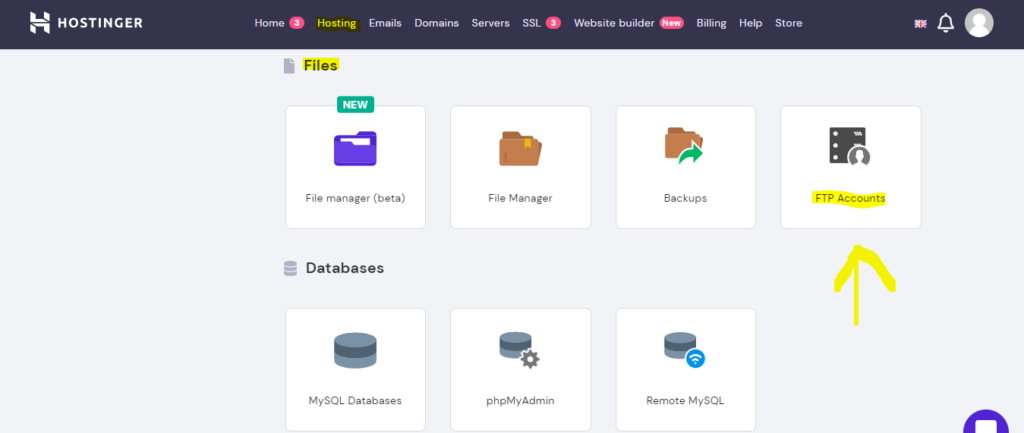
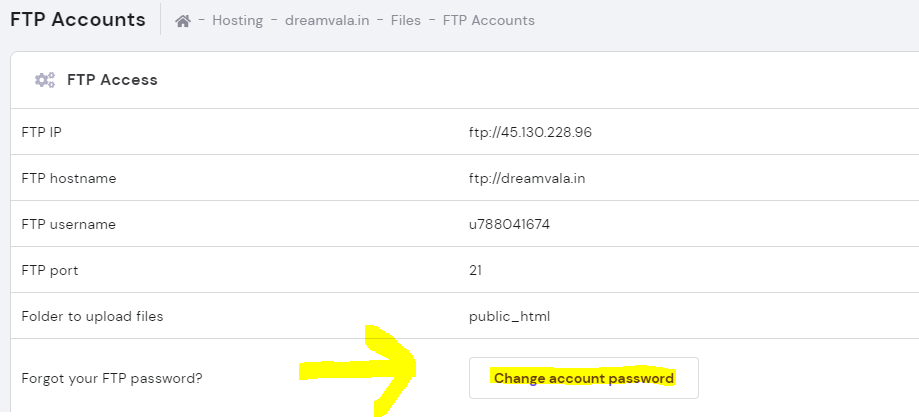
Step 2 : Navigate to Hosting Tab -> manage -> Files -> Ftp Accounts  (Note: open with your first domain name registered which is provided free by hostinger)
Click on Manage Button
click on ftp accounts
click on Change Account Password
Change the password & note down this password in notepad. We will use this password as SSH Password
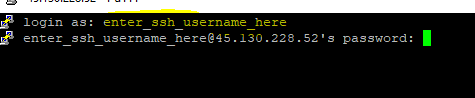
Step 3 : Now go to Hosting -> manage -> advanced -> SSH Access (Note: open with your first domain name registered which is provided free by hostinger)
Click on Manage Button
When you will click on SSH Access link you will see Screen as above. Note down SSH IP, SSH Port, SSH Username.

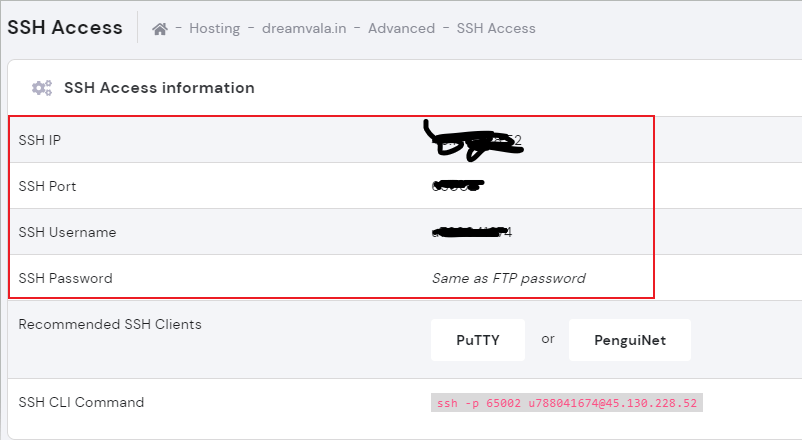
SSH Password will be same as we set in Step 2

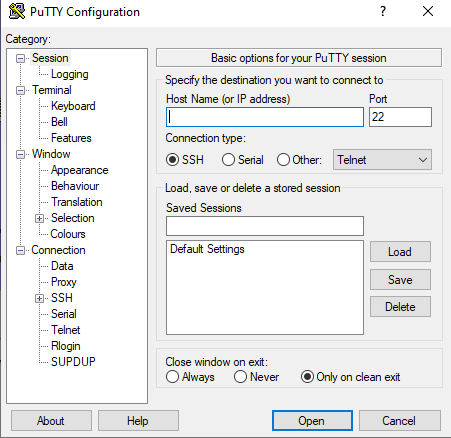
Step 4 : Now search Putty in windows start menu & Open Putty which we installed previously.
Now enter SSH IP as Host Name & SSH Port as Port in Putty then click on open button.
Enter SSH Username as login as field & Hit Enter. Now enter SSH Password as Password which we created in Step 2. Hit Enter
If you see Screen as Above then you have successfully connect SSH Terminal with Putty in Windows

Leave a Comment